Saturday 30 November 2013

Hot out of the kiln

Last firing of the kiln before the Thrive Christmas Fair on 5th and 6th December has given me some more small heart bowls
Heart bowls with sea glass

and two more platter and triple bowl sets.

This platter was textured using a lovely large pine cone found on a walk a couple of weeks ago.


This platter was textured using a piece of coral found on a beach in Fiji over 30 years ago! To keep the sea theme, I glazed the inside of the bowls with copper red glaze (it still amuses me that with red in the name of the glaze it fires blue!)


This firing also included my second attempt at making a large shallow bowl with a spiral of glass in the bottom. Careful drying of the bowl had enabled me to produce a bowl without distortion to the bisque stage of the process. However, the stoneware firing has once again distorted the shape (currently not sure how I can stop this happening). Also, I left on too much copper carbonate in the texture of the bowl which has dominated the glaze, hmm....

Thursday 28 November 2013

Preparation and Experimentation

I have been busy over the past 2 months trying to get a balance of making work to sell in the build up to Christmas whilst still trying to push myself and experiment with new ideas and techniques.
I feel that I have been fairly successful with this, as I hope this posting will show.
 
Firstly, work for selling has required the production of 7 more planters to satisfy an order for 6 and still give me some stock to sell (I had 4 already made). Here are the results of my labours:-


My smoked hearts have been popular, so I have also been making more of these. To add a little more interest and include my love of ferns, I have been experimenting using ferns as a 'resist' to the slurry before smoking in the incinerator.
A selection of work prepared for smoking
Smoked heart with fern
Smoking happily in the incinerator


Burnished heart with blue slip


Another experiment has been to make my own coloured slip to give some subtle colour before burnishing and smoking. I have tried making two blue slips using the Ashraf Hanna clay with either cobalt oxide or  a turquoise blue body stain. Only firing the work up to 950 C did not bring out the blue of the cobalt oxide, but the body stain has worked very well.


My 'rattle stones' have sold well, so I have made some more of these in both natural colour and pale blue (which reminds me of the pebbles I collected on the beach at Durdle Door).


I have spent many a happy hour stacking pebbles on various beaches (how sad is that?). Time to stack some of my ceramic pebbles on a base from some of Meir's lovely yew.
Smoked pebble stack on yew base
I have used more of my supply of wood to mount more pebble inspired work.

Smoked standing pebbles on beech


Blue smoked standing pebbles on yew


With Christmas rapidly approaching and two events to sell at I wanted to make some Christmas tree decorations that were unique to me. I hope that I have achieved this by texturing the slabbed clay with a pine cone before using cutters with some Christmassy shapes. Prior to bisque firing, I carved out a hollow in the shapes ready for some glass to be placed before stoneware firing. Since these were small shapes I bought some coloured glass frit and experimented with different oxide/frit combinations (so my decorations doubled up as test tiles, much less boring).


To my surprise the red frit came clear after firing, perhaps the turquoise and green frits would have done without oxide underneath, something to test out after Christmas. With some touches of gold and silver paints and glittery thread, these have been turned into a pleasing selection of Christmas decorations. I glued on red beads to all my Christmas trees and some red heart beads to the two hearts which were supposed to have red centres.
Wall hanging with green glass


I have played around more with the turquiose and green frits in both tiles and bowls, still very much work in progress, but here are a couple of results.


Bowl with green glass


The large bowl was made in a mould; however, I took the bowl out of the mould too early and it distorted as it dried. Also, it was not possible to keep the glass on the sides of the bowl (something to do with gravity?).
I have just put a more circular bowl in the kiln with the spiral of glass in the bottom of the bowl, fingers crossed.


Congratulations if you have made it to the end of this looong posting!
Still not covered all my work from the past 2 months, but will leave that for another day.
Time to go and make myself a well earned cup of tea.

Saturday 28 September 2013

First glaze firing in ages

This morning I anxiously opened the kiln to see the results of my first glaze firing in three months. I have been busy working on burnished and smoked work recently and have also been making the most of the good summer to head to the hills or the coast, hence no work to glaze for quite a while.

It was time to get back to working with my white St Thomas clay to replace stock and experiment with some new ideas.

Glazing is not my favourite part of the ceramics process, but a necessary evil to produce desired results (if the glazing works). Hence it is always with some trepidation that I open the kiln; will the glaze have run and welded my pots to the kiln shelves or each other? Will I have the glaze colours that I anticipated?

I was relieved when I opened the kiln this morning, everything intact and only one small glaze run. Stupidly ran my thumb over the blob of glaze left on one of my shelves resulting in much blood and a lesson learnt ( I hope!) Glaze is glass and can be very sharp...

Stock replacement included some of my small heart bowls.

small heart bowls (various glazes) ~ 8cm diameter
I also made some more yarn bowls (hoping to keep one for myself this time).


Experimentation with some of the new ideas filling my sketchbook gave the following results.

Shallow heart bowl ~12cm
I textured the slab by rolling onto textured wallpaper before cutting out and shaping the heart. When the clay was leather hard I cut the grooves. After bisque firing the grooves were filled with marble green glaze then covered with wax resist. Copper oxide was brushed into the texture and edges of bowl, then dipped into off white glaze. A process which I plan to repeat with larger bowls.

Teardrop vase h~17cm, d~14cm


This vase was glazed first with Tenmoku, then shiny white tin was poured/dotted on and gave the desired speckled effect - very happy (especially since the vase also holds water).

Teardrop vase h~14cm, d~13cm
Dipped part of vase in marble-green glaze and top in copper red, then dotted on both galzes in the unglazed band. Pleased with the colour of the dots, but in the top section the glaze was not thick enough, resulting in not enough colour. Also unglazed area is too large; I think that I may experiment trying to add more glaze and re-fire?

Once the cut on my thumb has healed enough I can go back to playing with some more clay.

Thursday 12 September 2013

A pyromaniacs dream day out!

On Saturday 7th September 2013 West Forest Potters celebrated their 30th Anniversary with a Firing Day on the idyllic farm of member Jane White. During the day we were given the opportunity to 'play with fire' and try out three different firing techniques, Raku, Smoke and Pit firing.

Prior to the event we were given detailed instructions as to what to prepare to get the most out of the day; this saw most of us making pots with the specified Ashraf Hanna clay (some of us also burnished and applied terra sigilatta, as recommended) and collecting an assortment of organic materials to place around our pots in the pit firing (banana skins, orange peel, seaweed, driftwood, shells, etc.)

We all found our way to Jane's farm, which nestles in a valley in the Chilterns, north of Henley, eagerly clutching our pots and other paraphernalia; and plenty of cake! We were greeted by warm sunshine and a host of different animals...
 

After a brief introduction to each of the different firing techniques available from our experts, we were let loose to prepare our pots in Jane's beautiful studio and surrounding garden.

Pots for Raku firing were dipped into a selection of raku glazes, with additional use of coloured underglazes and wax resist where desired.

To prepare for the smoke firing some people chose to mask areas using slip or by wrapping in tin foil.
For the pit firing, we surrounded our pots with an assortment of organic materials, copper wire and copper sulphate, then wrapped them in newspaper, ready to place in the pit later in the day.


Martin and Richard soon had 4 Raku kilns roaring away in the farm courtyard and were kept busy all day with a steady stream of pots to fire.


Unfortunately one of the first firings was not successful, not sure whether this was kiln being too hot, and pots came out a bubbled blacked mess. 
 
 
Both of my pots were in this firing, they were definitely not the turquoise and green that I had hoped for!
 
 Fortunately the rest of the firings went really well and produced some great results. (My pots had been re-fired and looked better, even if they were not quite what I was expecting.) 

Despite a poor weather forecast for the day, the sun managed to shine on us all day until we were due to put our pots into the enormous pit in one of Jane's fields, at this point the heavens opened and thunder rumbled around the valley.
During a brief respite in the torrential rain we went to have a look at the pit (reminiscent of an archeological dig) and Jane explained how she loads the pit for firing.
Reluctantly, we left our pots for Jane to place in the pit (once it had dried out) and set fire to and headed home along roads which had turned into streams.


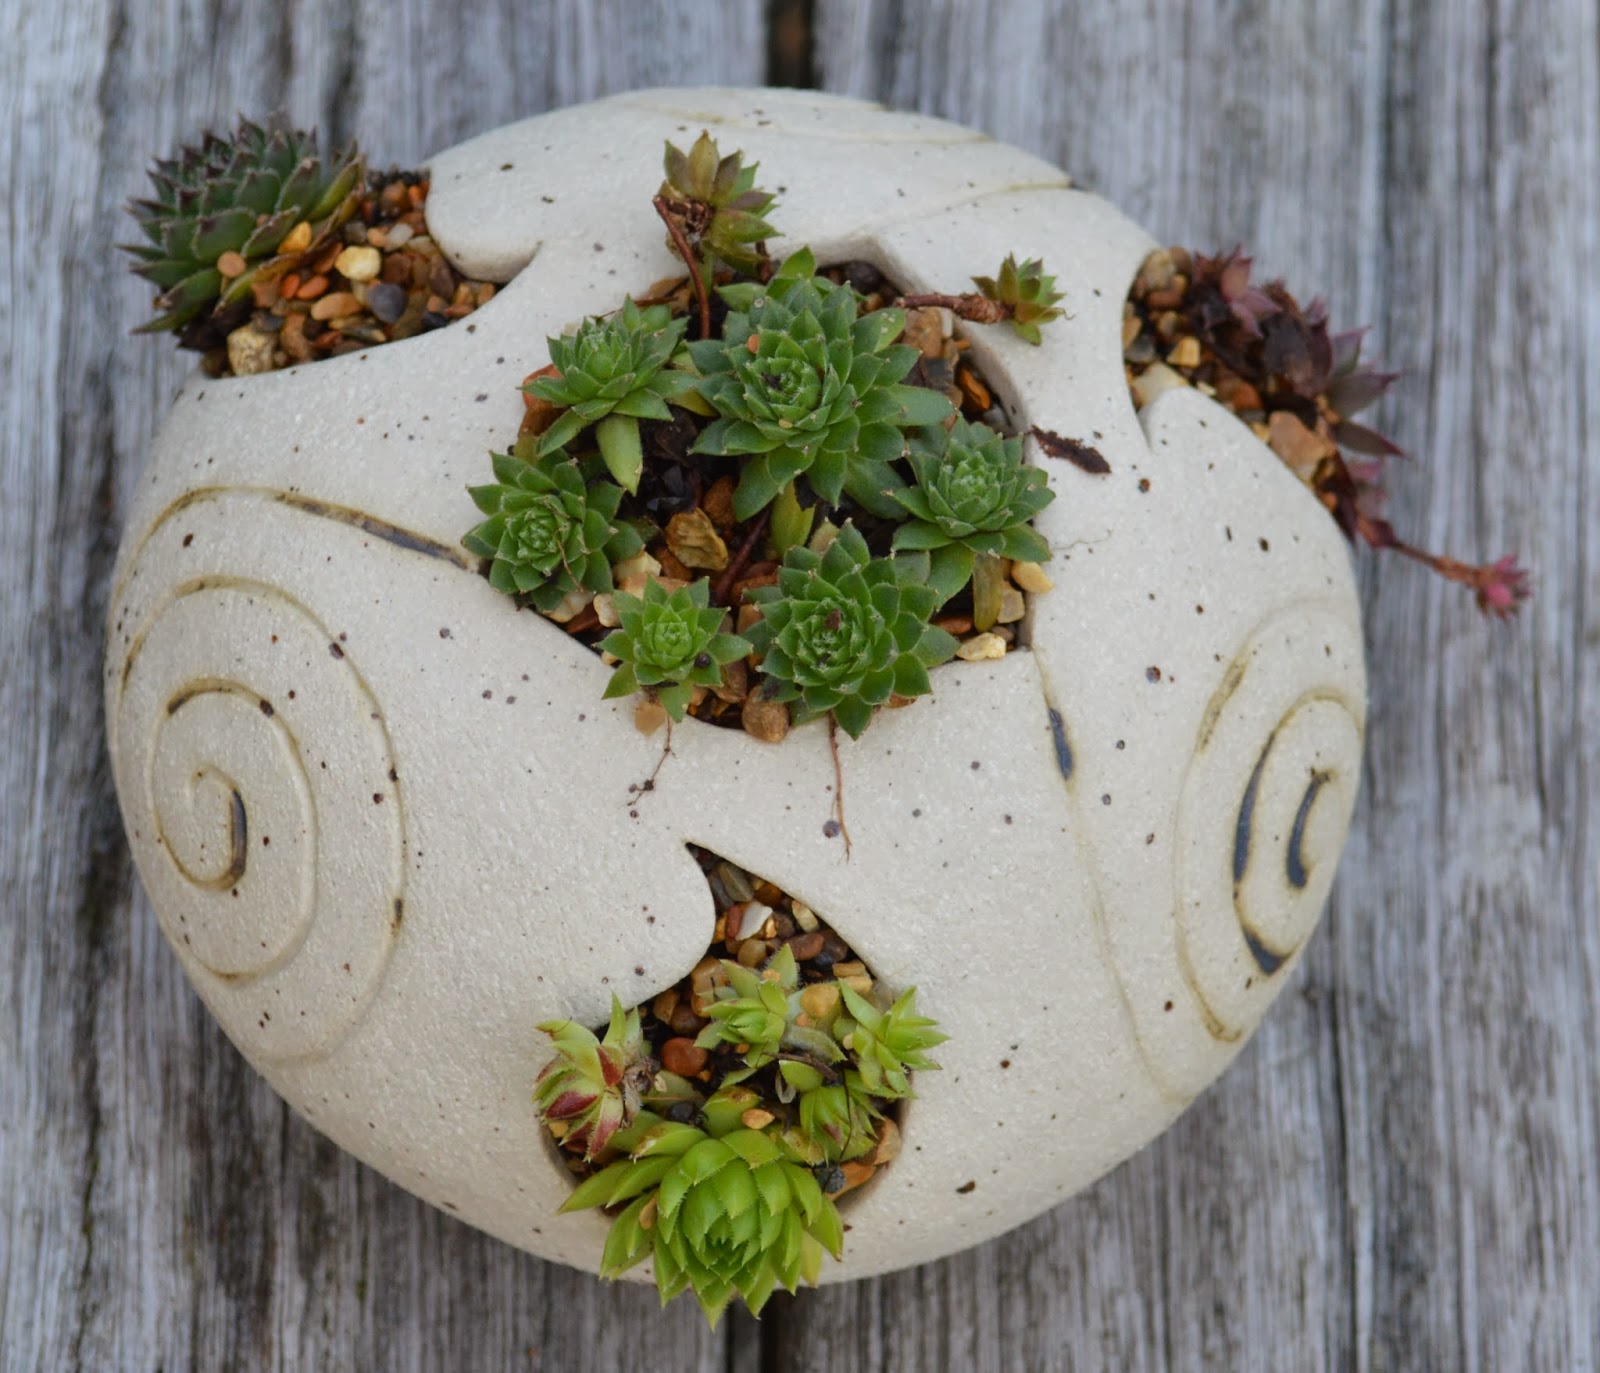
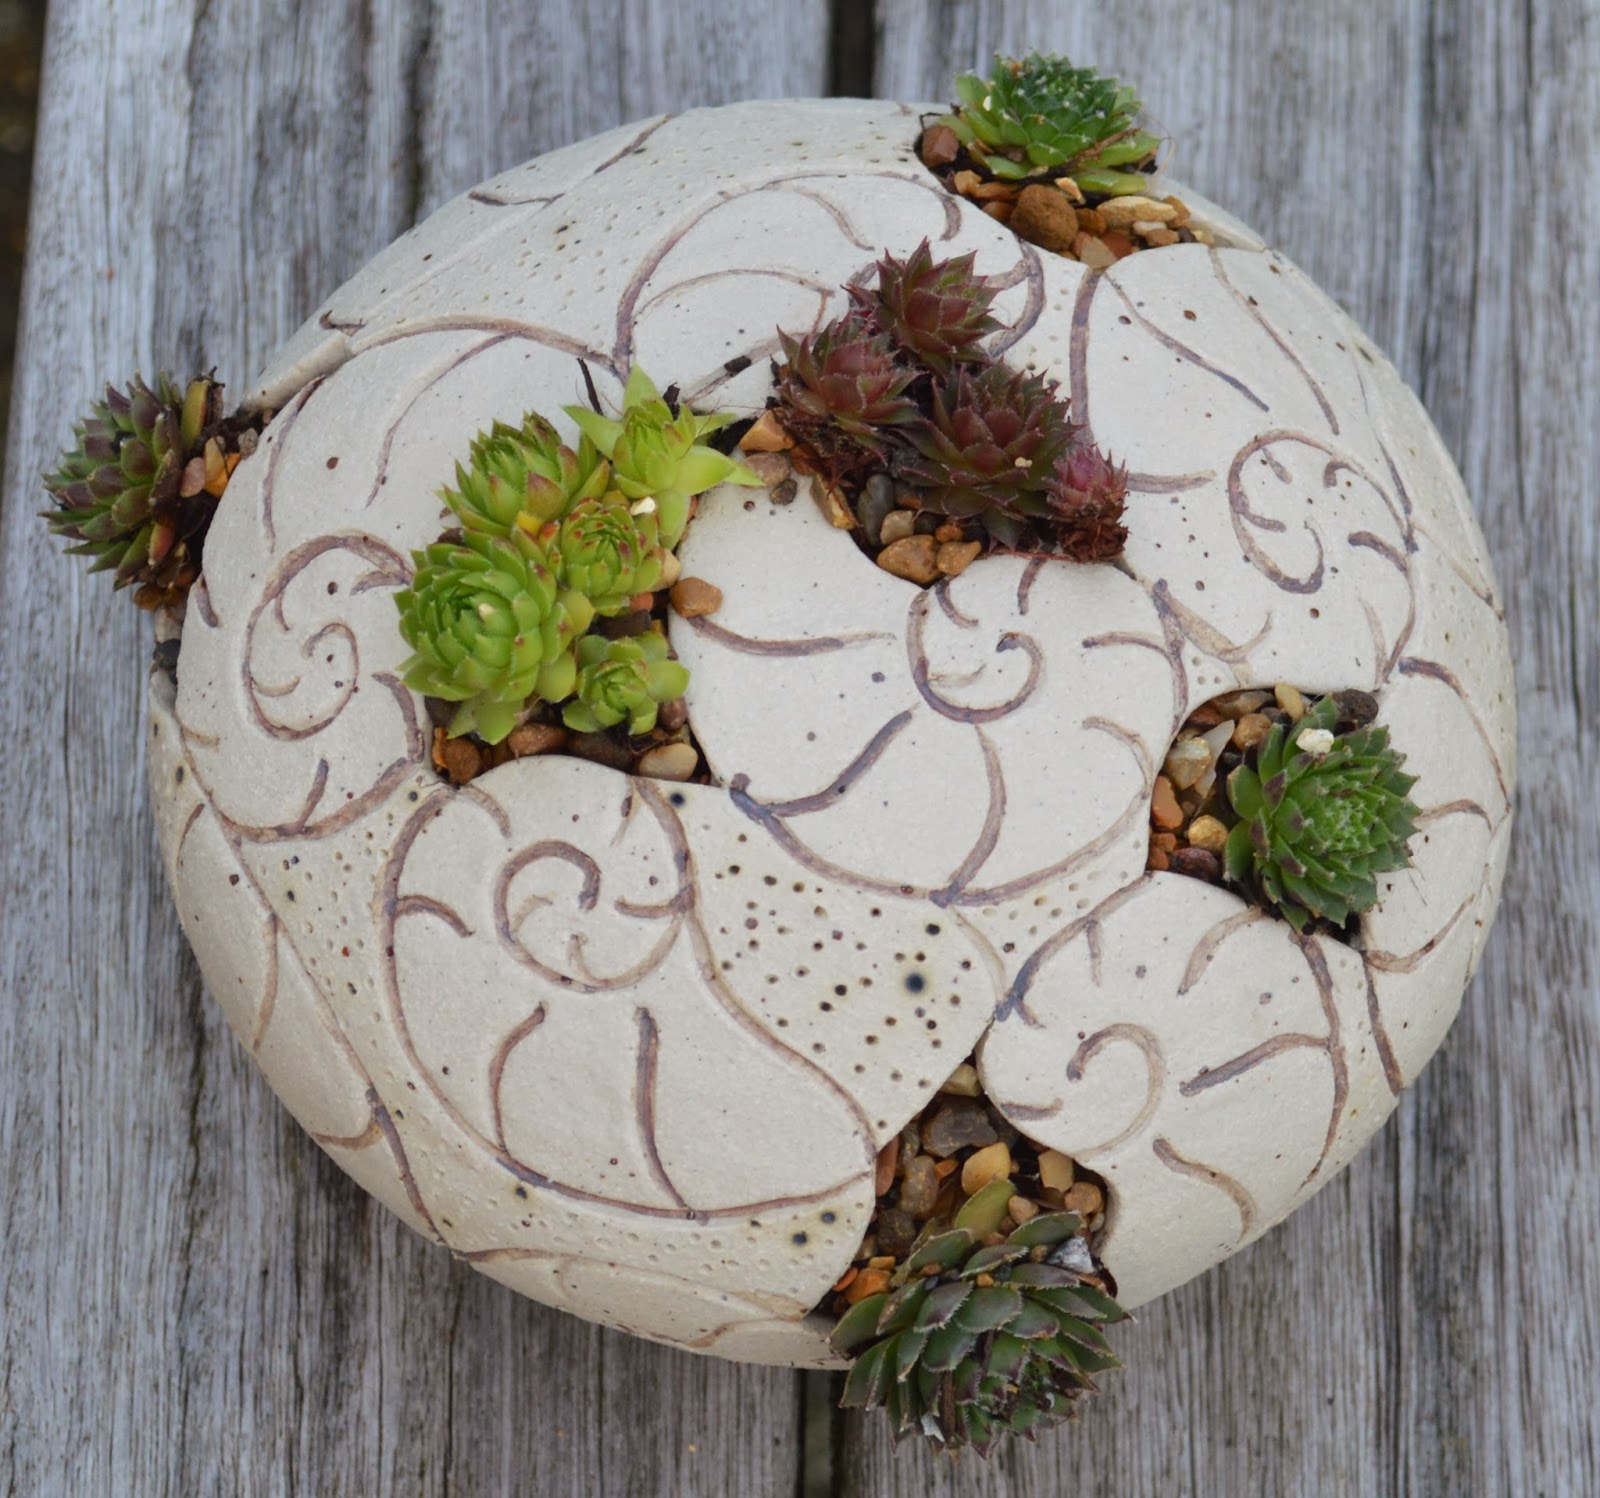
Our pots have now been fired and safely returned to us; for some reason the pit firing did not produce its usual array of colours (perhaps we did not put enough organic material around our pots?).
However, after a polish with beeswax, here are my pit fired pods.
Pit fired 'Love bird' pods (~12cm height)

Pit fired pods (~9cm height)


Here are my Raku fired pots after their second firing, still not turquoise or green, but interesting?


Even though the final results of the day were not quite what I had anticipated, this does not detract from a fantastic day; beautiful location, like minded potters, sunshine and plenty of cake!
Many thanks to everyone at West Forest Potters.