Thursday, 12 May 2016

Different clays

Having got back into the swing of making using my reliable (and inexpensive) White St Thomas clay, it was time to play with some of the other clays which I have purchased - not yet started to dig and refine my own clay!

First up was some pieces using Flecked Stoneware.


Before Christmas I had made a pencil pot as a present for a teacher colleague. I was very pleased with making a feature in the join of the slabbed pot and with the incised spirals which I had painted with a brush-on green glaze and then protected with wax before glazing the outside with vellum off-white.


I decided to make some more of these in the Flecked Stoneware clay.


I am happy with them, but remain to be convinced by the flecked clay.

When I look back through my sketchbook and photos of my work I realise that I had been fairly productive and experimental towards the end of last year. Another trial was to make a 'double skin bowl' by joining a smaller bowl inside a larger one, I combined this with some different surface techniques and some sea glass inside the bowl.
Double skin bowl #1

Pretty pleased with my first attempt, apart from the use of manganese dioxide on the outside bowl (should have used blue cobalt oxide over the whole of the outside).


Double skin bowl #2


Not so happy with second attempt using the flecked clay; did not take the turquoise slip on inner bowl out far enough and the sea glass had some white impurity.


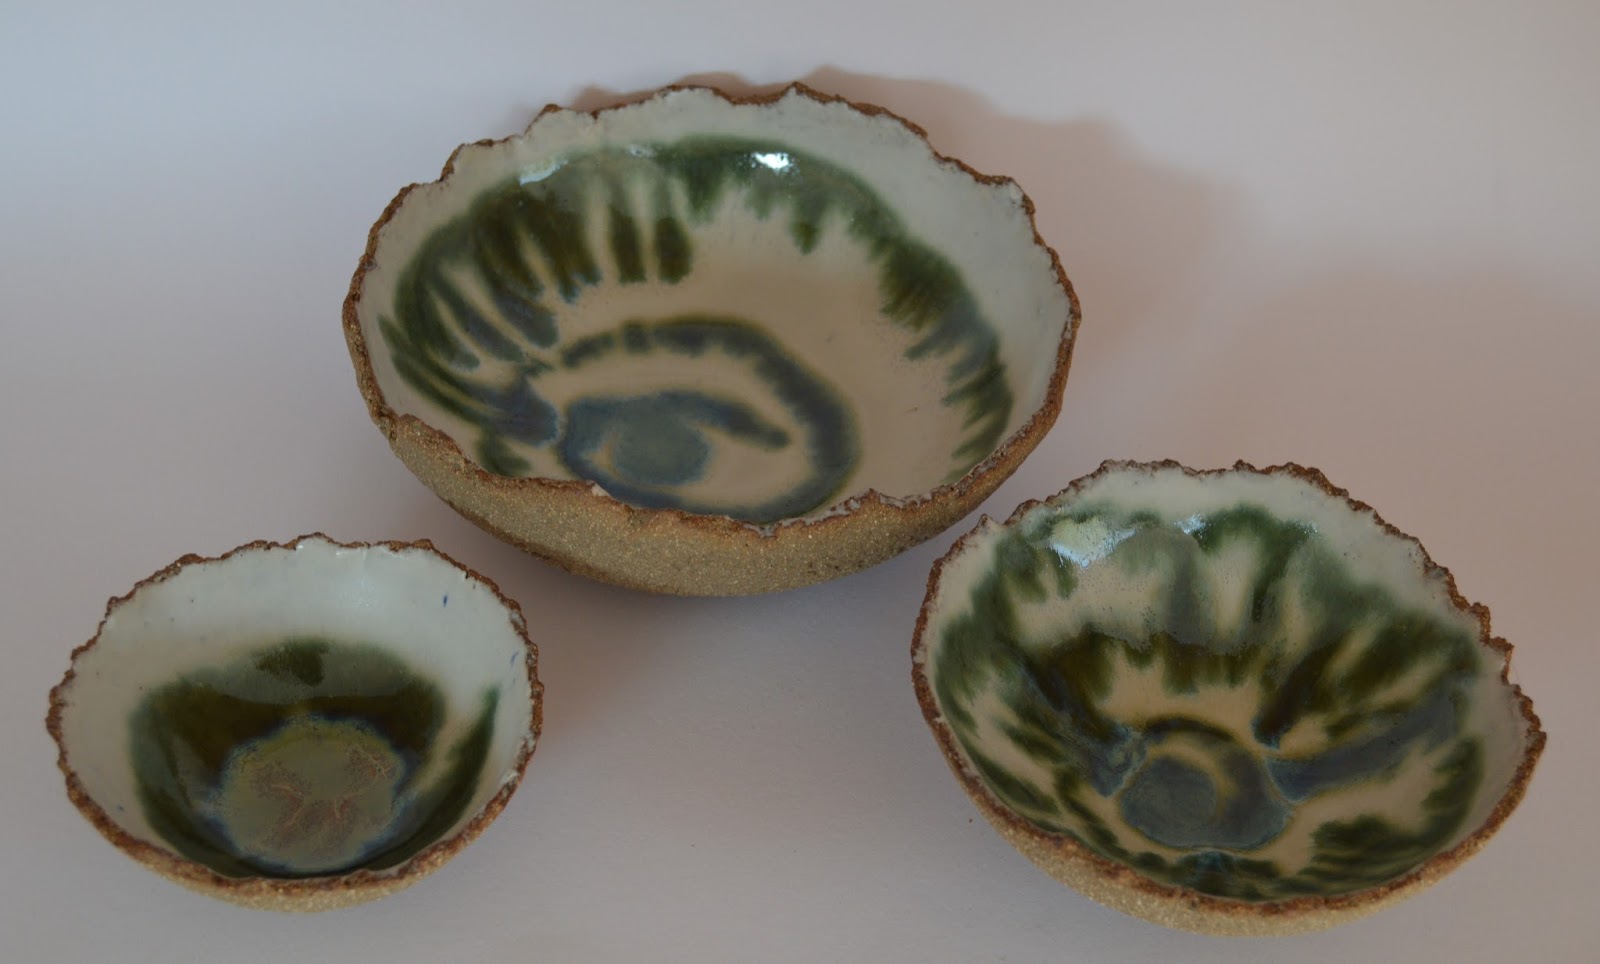
Moving on to using some of the pink grogged stoneware clay to produce some more bowls, some from pinch pots and other using slabs over a hemisphere mould. All the bowls have rough/torn edges in keeping with the textured nature of the clay. Outsides of bowls are textured further using coral or bark, whilst insides are smoothed as much as possible and coated in white slip before bisque firing.


These three were glazed with vellum off white with marble green slip trailed around, these two glazes interact well together.


These two were glazed using another favourite combination, blue/grey and celadon chun.

Wednesday, 11 May 2016

Familiarity a good way to restart...

Although I had a wonderful new studio (which made a very cosy spare bedroom over the Christmas period when the house was bursting at the seams with family) it saw very little productive use until February. The combination of more time, creative energy and the need to produce new work to exhibit in May brought about a flurry of activity. When I have not played with my clay for a while I often find a good way to get back into the swing of things is by making some familiar pieces.

I started by actually making something for myself! I have made several garlic pots, but always sell or give them away, time for me to have one to store my garlic in (I made two and the other has sold).

Garlic pot
Whilst making familiar items I had fun making a few more little birds, husband thinks they are too cute but they do sell well.


Eternity (~18cm height)
I continue to experiment with the Maori symbol for eternity. When first working with this form, I joined the twisted sections together in a point. Towards the end of last year I made a small eternity joining the two sections in a loop, much more like the mathematical symbol for 'infinity'. Pleased with this new development, I then made a larger version.

Eternity (~26cm height)


The horizontal lines appeared after glazing, they are not cracks going all the way through, but think they must be where the coils of clay have been joined, not something I have encountered before.

Thursday, 10 December 2015

Tale of a studio

For several years my 'studio' has been in our bedroom, fortunately we have a large room and, since I do not use a wheel, my playing with clay does not make a lot of mess. However this is not an ideal situation as I am carrying unfired work downstairs and out into the garage for firing, then taking over the kitchen for glazing.

In January we took down our dilapidated greenhouse which had hardly been used for a few years; I have been too busy with ceramics and Ken with work for us to be doing all the gardening which had required the warmth of the greenhouse. This gave us the space for a garden studio so we started to price up a self assembly insulated garden room. On discovering the exorbitant cost of these, Ken worked out the cost of building a studio from scratch and came up with a figure for a fully equipped (power, sink, heating, lighting, flooring, etc) insulated studio that was under half the cost of just the studio kit. Ken has always been good with DIY in the house but never attempted such a major project, undeterred and with no scale drawings, just an outline of the floorspace which I felt I needed, he set to work over the Easter holidays creating the 'pads' which his structure would sit on.

26th April
The black pipe sticking up goes into the large soakaway for the waste from the future sink.

One of the great things about this project was the lack of time pressure that Ken was under to complete, none of your 'Grand Designs must be in by Christmas', allowing Ken to work as and when he felt like it and the weather permitted. However, it was not long before there was a fully insulated base and the framework for the walls starting to emerge, helped by having the half term holiday at the end of May.

28th May
29th May


Next came the roof and the start of the exterior cladding.

6th June
And it wasn't long before the two double glazed windows were in place.


Ever since we moved into this house, 22 years ago, we have been saying that the concrete patio behind the house needs replacing. Anticipating the saving from Ken's self build of the studio, we finally commissioned a complete re-build of the patio, a major undertaking as about 50 square meters of concrete needed to be removed and ground level lowered by several cm. Work on the patio started early July.

Old patio removed and new retaining wall started


Retaining wall complete with new curved path access into garden
New patio complete 16th July

With work on the patio completed and the summer holidays it was time to continue making progress with the studio.

12th August
The custom made french doors are fitted. Ken may not have made a plan for the studio, but he had researched planning regulations, to avoid planning permission for the studio the maximum height was limited, this meant that standard height doors would not fit.

16th August, completing the exterior cladding
Whilst Ken was busy with all the construction, I was the extra pair of hands when needed and the painter and decorator.

23rd August


30th August


Having nearly completed the exterior of the studio, the walls were filled with wool insulation and OSB used for the internal walls.

1st September
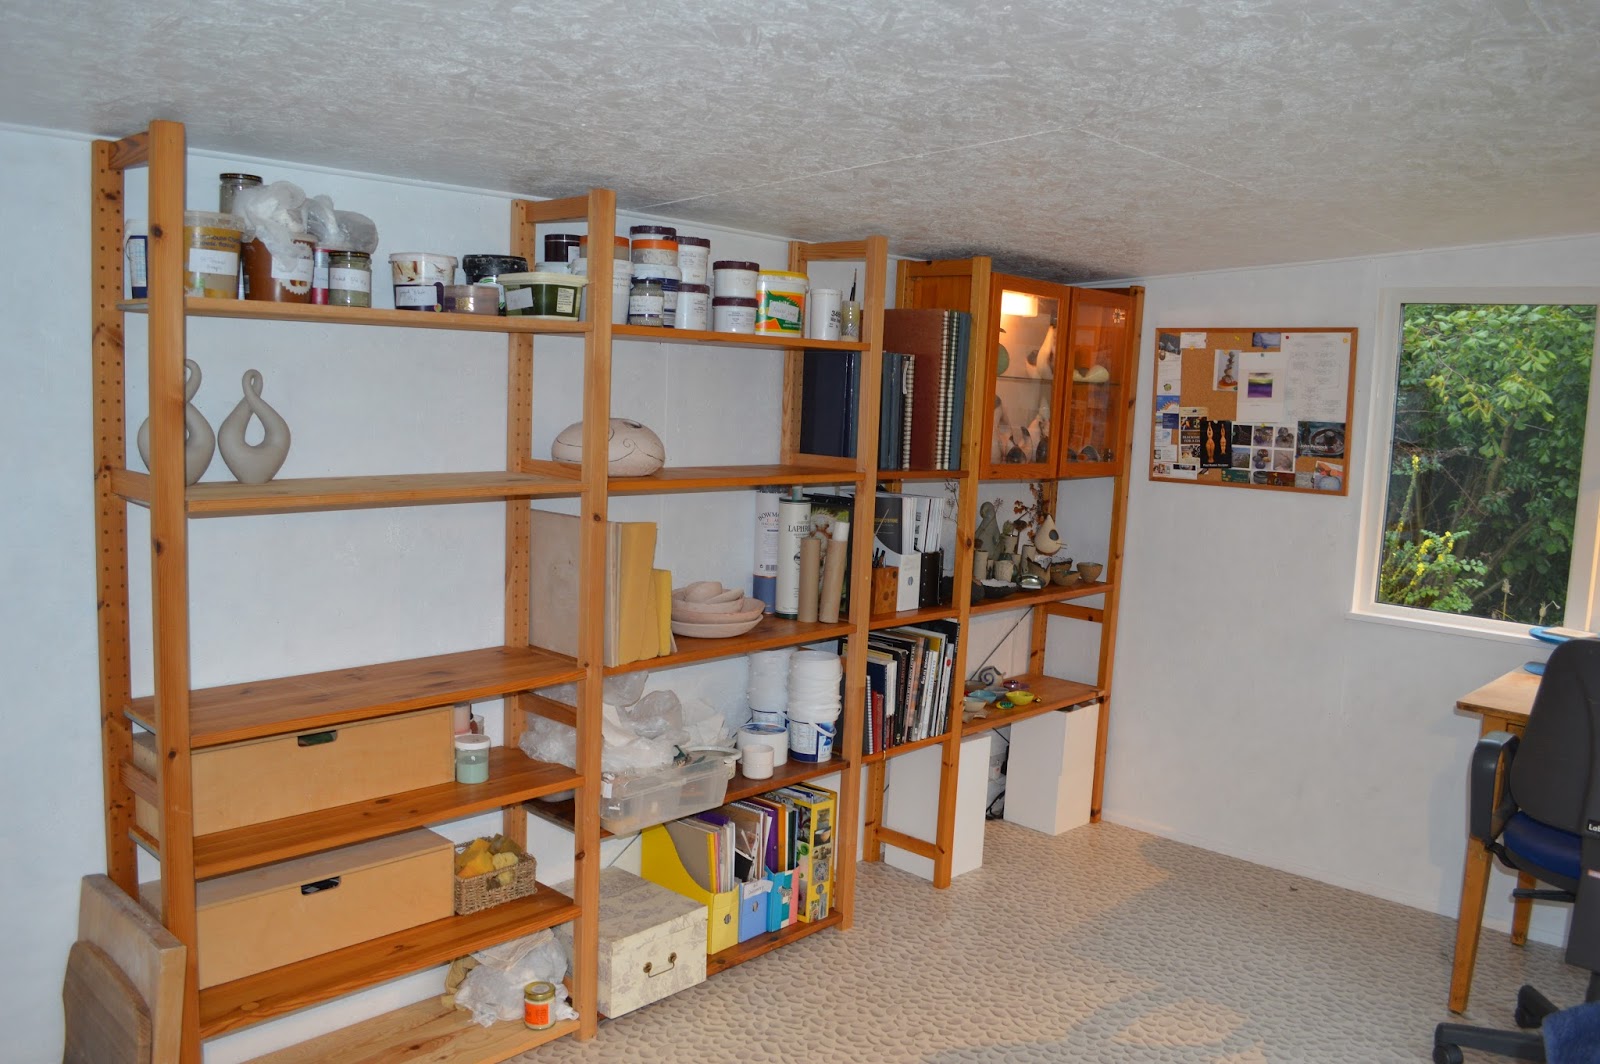
With internal walls completed, I set to work with paintbrush and white emulsion, painting OSB is a hard job! Then came the fun work, moving in!

15th September

23rd September, enjoying working in my cosy studio


I was so keen to get in to the studio that I didn't wait for the sink to be fitted, but it wasn't too long before Ken got this in along with a triple filter trap on the waste to remove clay and glaze sediment.

31st October, sink fitted
Close up of the trap


To celebrate the completion of the studio and show-off Ken's hard work I held my first 'Open Studio' on 5th December. Studio and my work were admired by all our visitors. Now looking forward to more Open Studios and possibly some workshops for friends and their families?


A massive thank you to Ken.

Definitely not a 'Grand Designs' build as it came in under budget and was finished by Christmas!

Monday, 24 August 2015

New clay...

...not exactly new as I bought myself a bag each of grogged pink and heavily grogged black clays from Bluematchbox with my winnings from 'Best in Show' at our West Forest Potters annual exhibition in May 2014. A year later I started to experiment with both of these clays.

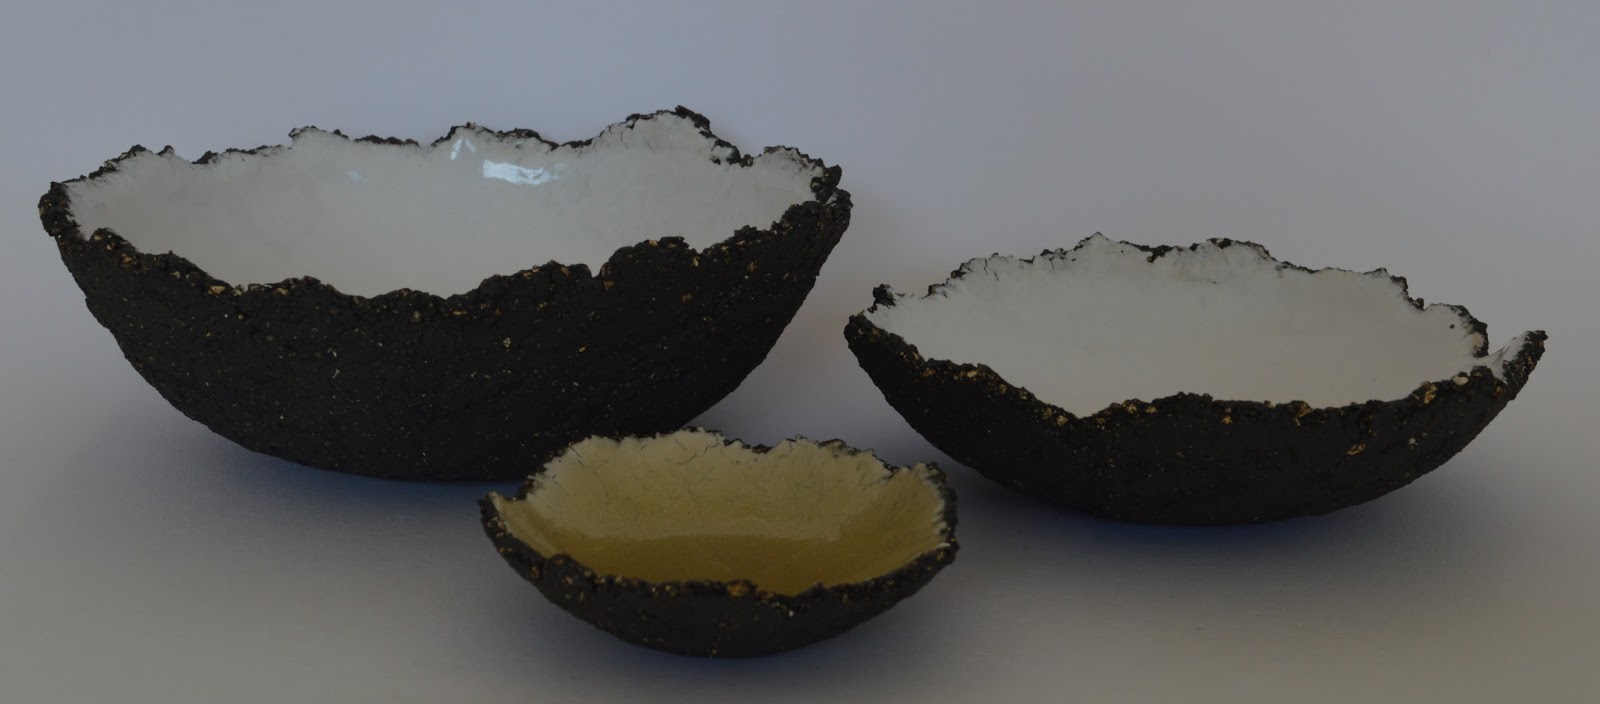
I began with small 'pinch pot' bowls to try out slips and glazes and to get used to handling much rougher clays. Due to the strong colour of the clay, I soon found that glazes worked best over several coats of white slip, as in these small bowls using the pink clay
And these in the black clay
Time then to move on to making some planters, my intended prime use for these new clays.
small black planter - d~15cm
I formed the hemisphere by moulding the slab of clay over a mould then gave more texture to the surface by pressing in a piece of bark.

large black planter - d~25cm, h~20cm
This planter was made using flattened coils built up from a slab inside a large cicular mould, a new technique for me. On this planter I smoothed the joins of the flattened coils both inside and out, then scraped the outside to bring out the texture of the clay.

large pink planter - d~25cm, h~20cm

Once again I used flattened coils but did not smooth the outside, instead used a square edged tool to accentuate the steps.

 I then decided to experiment with a combination of pink and black clays. I had thought that cracks at the joins might appear due to different contraction of the two clays, but all joins have remained intact at both bisque and stoneware firings.

pink and black bowl - d~18cm

black and pink bowl - d~16cm

Whilst playing with my 'new' clays, the new shoots, koru, of my ferns were growing rapidly in the garden, time to make use of them. I decided to make some cylinder vases, pressing the koru into the clay before forming the cylinders. I also made a feature of the joins by making an outward curl of slab at the join. The koru impressions were highlighted with copper oxide and marble green glaze was used inside the vases and on the outside of the curls.


Sunday, 26 April 2015

Ready to exhibit

Over the past few weeks I have been busy getting ready for West Forest Potters annual exhibition held over the May bank holiday weekend as part of the Henley Arts Trail.

This year, not only have I needed to plan and prepare my own exhibit, but as Chairman of West Forest Potters I have been co-ordinating the whole event. This has taken more time than I had anticipated, but perhaps this is because it is the first time I have been co-ordinating this event, hopefully next year will be easier. Anyway, fingers crossed that it all runs smoothly and that we have lots of visitors and sales.

I had thought that I would struggle to have enough work to exhibit this year, largely due to puppy distractions! However, when I came to collect everything together I was relieved to find that I have more than enough, so will be able to re-stock if I am successful with any sales. My intial display will look something like this...


The only really 'fresh from the kiln' piece of work in my display is this weird abstract piece on a beautiful piece of yew that Meir gave me about 3 years ago.

smoked abstract on yew - height~30cm
I have also taken the opportunity to try to improve on a couple of pieces of work which I had not been entirely satisfied with.

The first was one of my eternity pieces (Rauiri in Maori)

It started life having green slip applied before burnishing. For some reason I fired this to stoneware temperature which did give the piece the shine without the need for wax polishing, but reduced the porosity for smoking which was my next step.

Needless to say, smoking was not successful!
Back into the kiln to burn off this mess.

This all took place back in December 2012, since then the work has sat on one of my shelves feeling a little sorry for itself.


I finally got around to trying to glaze the piece. I applied vellum off white then added 'splodges' of marble green. The piece came out of the kiln looking like a green and cream dalmation! (sorry no photo) More marble green glaze and firing no.5 has produced the piece below, which I now feel happy with (at last!).


Eternity - height ~25cm
The second piece which I have re-worked had been unsuccessfully smoked, fired to clean, then smoked again with a better result. I then mounted the piece on some yew which I shaped and polished.

smoked oval on yew - height~18cm
Do come to the exhibition if you can, we have 20 members showing their lovely work, there is also a great pub next to Neville Hall, Waltham St Lawrence. We are open from 10am to 5pm on Sat 2nd, Sun 3rd and Mon 4th May and will be offering tea, coffee and yummy home made cakes!